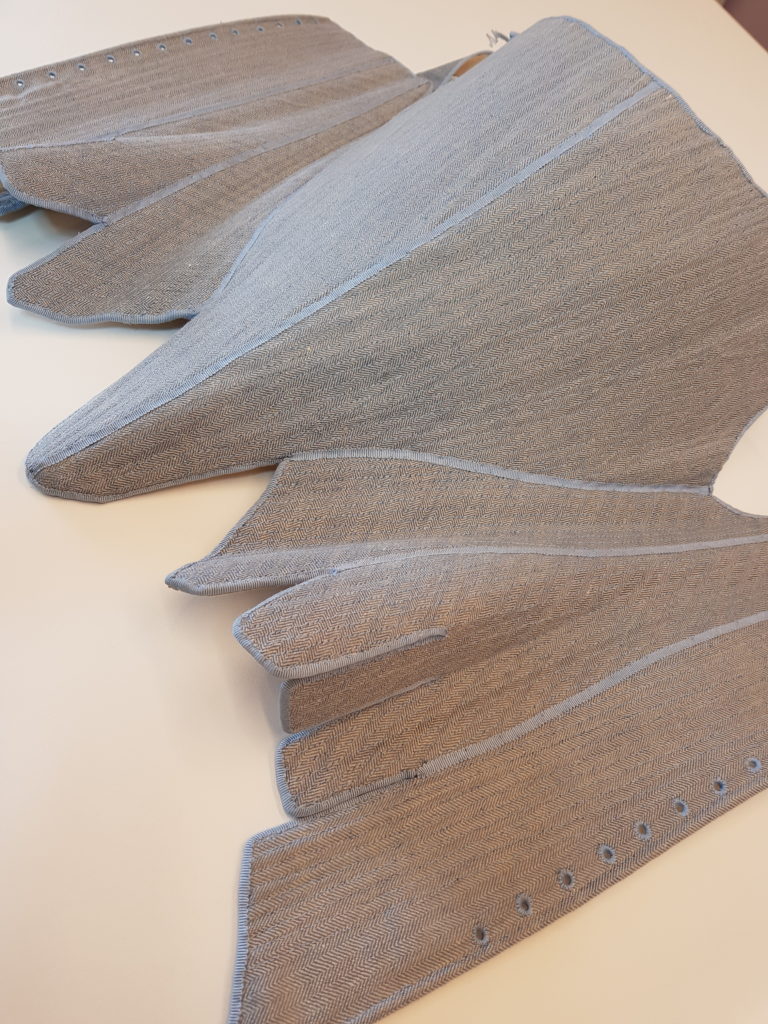
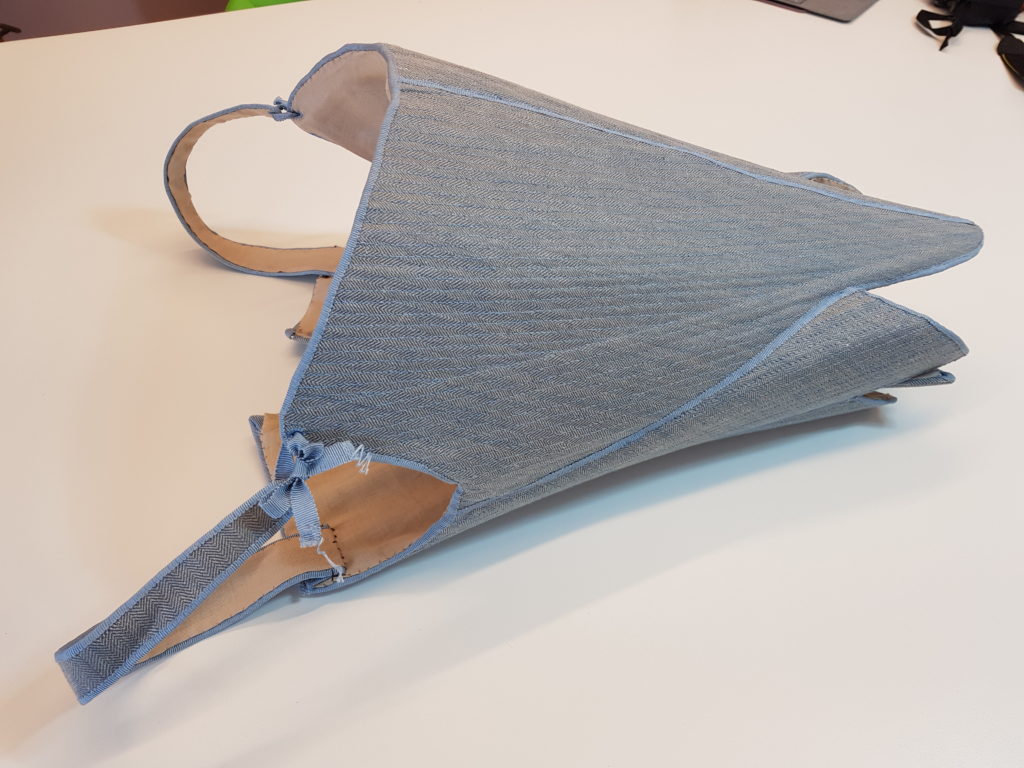
Blue Herringbone Stays
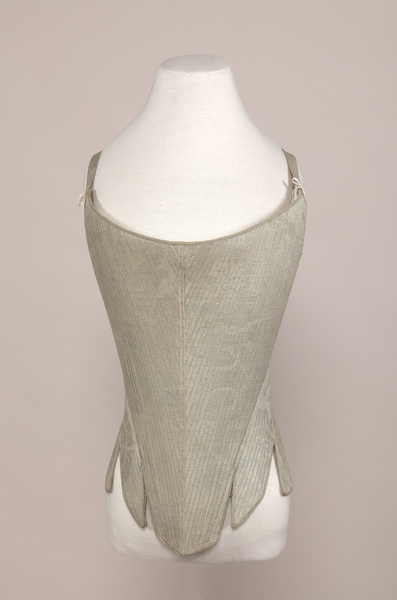
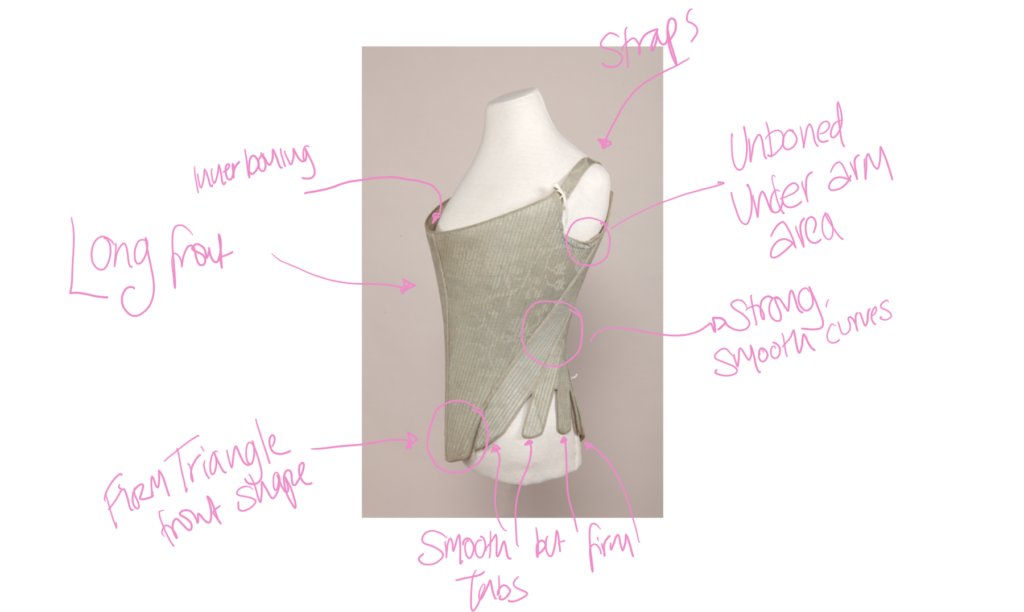
These are a truly truly truly stunning pair. Nothing to obviously shout out their stunningness but a subtle, sophisticated cut and manipulation of the fabric and bones that create a really strong, curvy and all round gob-smacking pair of stays.
This pair can be found at the Manchester Costume Galleries (click on the link – it will take you to their page).
We studied this pair of stays way back in 2016 and have been back n re-occuring visits ever since. The expertise and simple but serious skill found in these stays makes them ever breathtaking. The regularity of the small stitches, the simplicity of form, the elongation of the body, everything shouts to the level of skills these staymakers had. If we could be learn and copy!
Our Replica
Our Replica Pair is being made from a 100% cotton Blue and white herringbone, and though nothing as pretty as a floral damask, the subtley of the colours we are hoping may create a similar over all appearance.
Jobs to do:
Pattern cut the Stays using the original pattern and adapting it’s shapes to fit a different set of measurements.Cut the 3 layers out that I am using for each panel.Bone the panels using the original boning directions.Make up the Inner Support TriangleJoin the Panels togetherSew the ribbon down over the top of the joins.Sew in the inner boning casings and insert bonesLine the stays
The Pattern Draft:
Using the research unearthed by The School of Historic Dress that stays were cut on curved and not straight waist and bust lines. We decided to give this a go so you can see in the pic here that those lines are in a semi circular shape.
We also wanted to really see if we could learn how to cut the stays with flowing lines across the neckline as in the original but this kind of pattern cutting is only one that can get gained through experiment. On the paper we were very happy and satisfied with the shapes.
The Boning of the Panels:
Here are some close up shots as each panel begun to be sewn and completed prior to being joined.
The Backs:
The Side Back Panels:
The Side Front Panels:
The Fronts:
The Straps:
Joining the Panels:
The next stage is to join the panels and pop the ribbon on.
And Finishing:
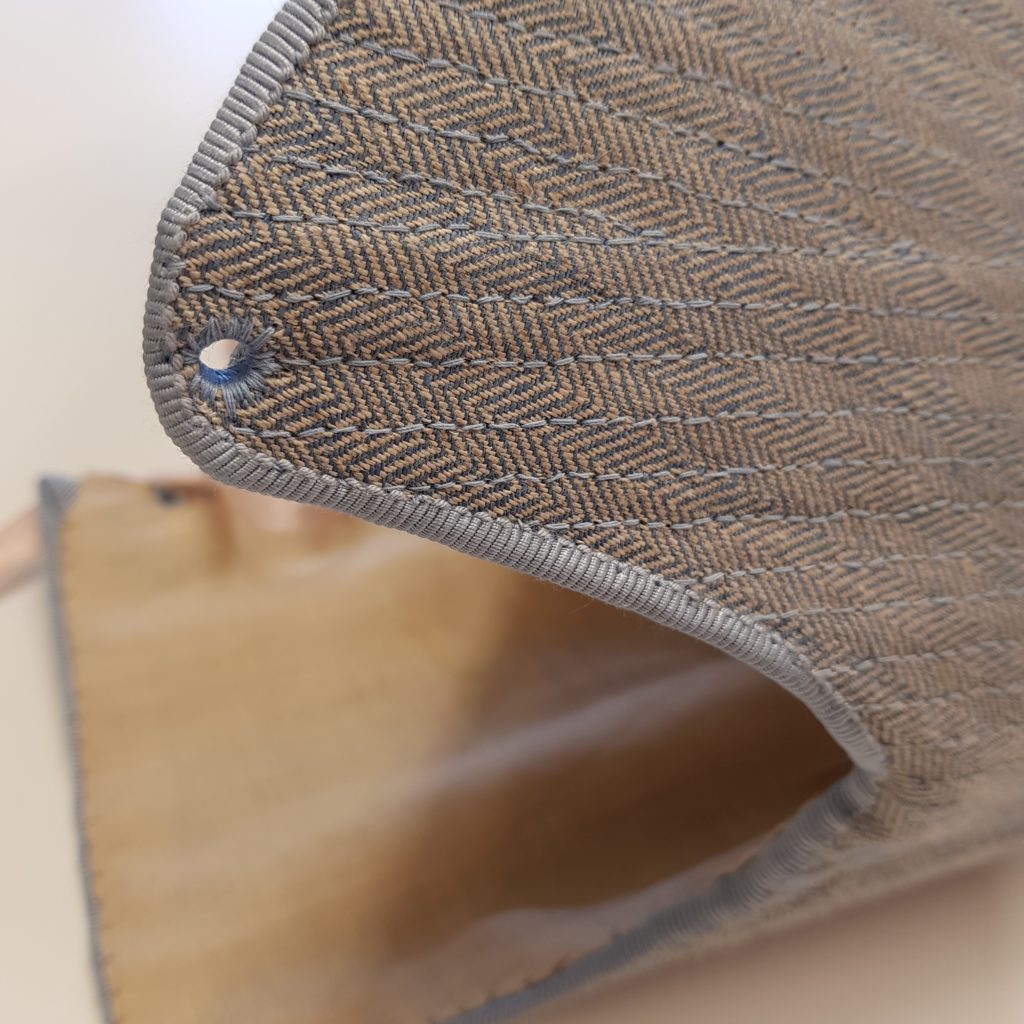
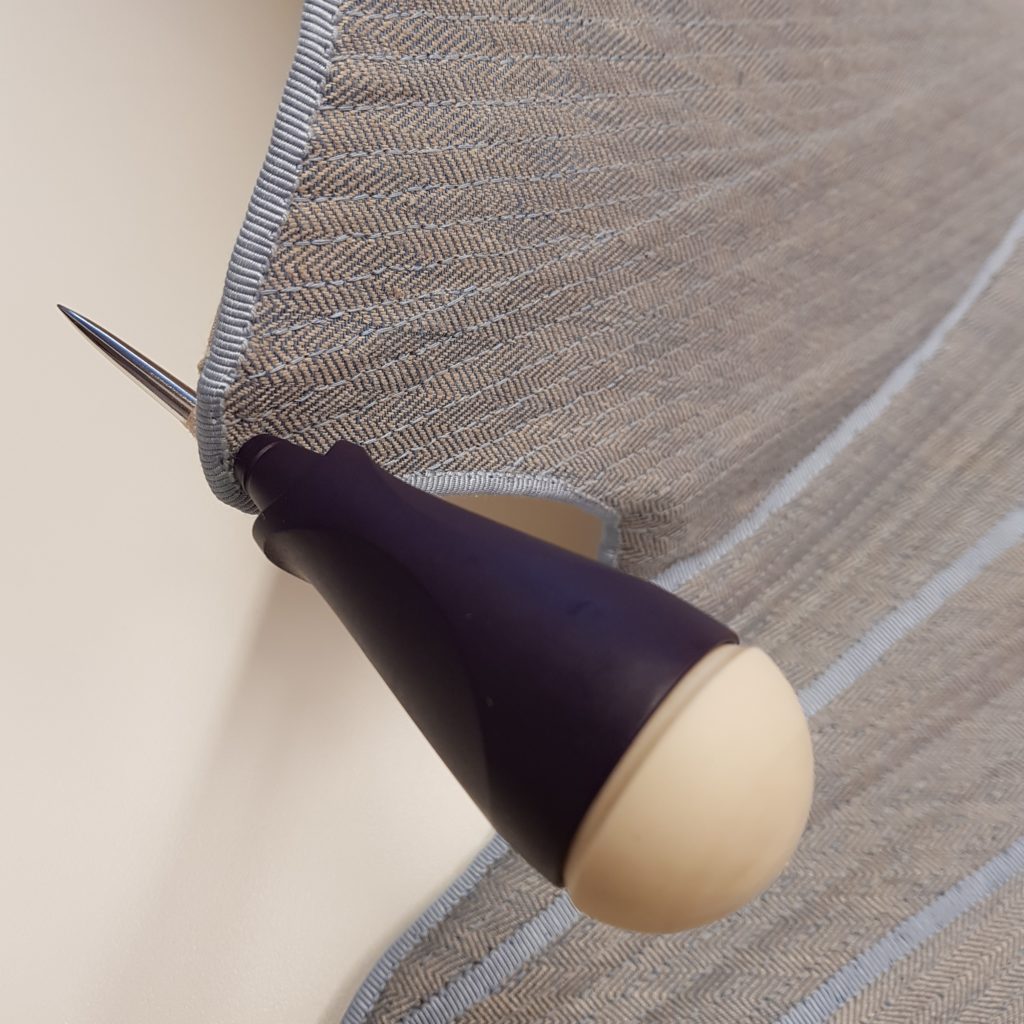
Then there’s the eyeletting…
The Inner bones…
The lining….
And finally the straps…
Completed Photos:
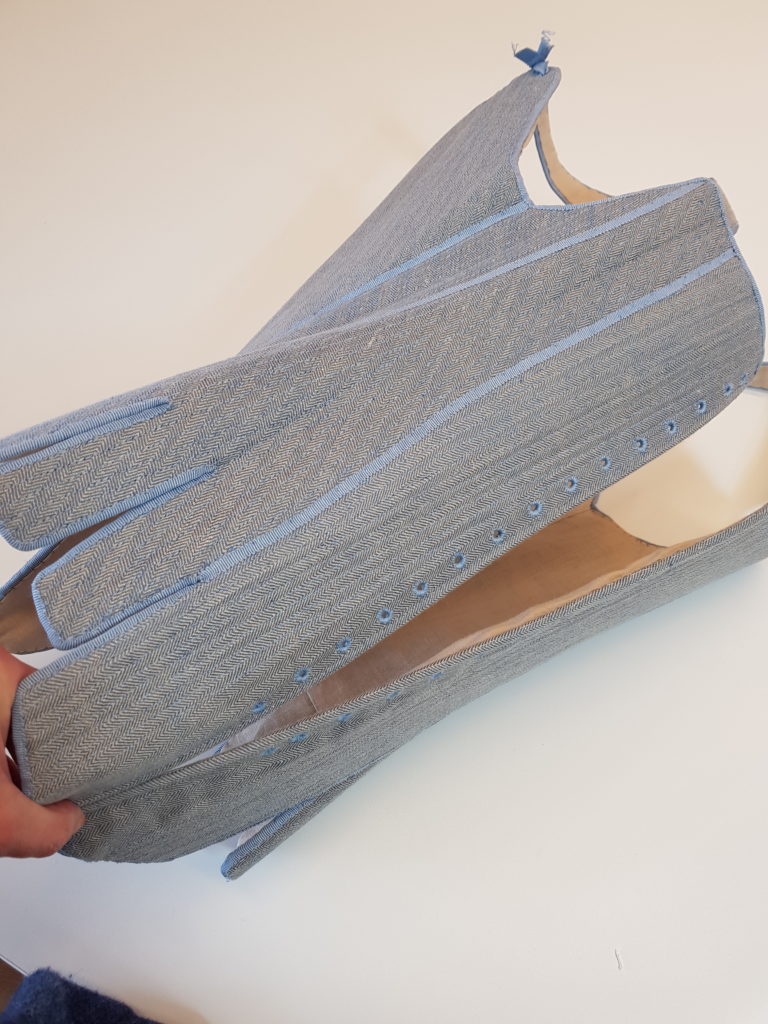
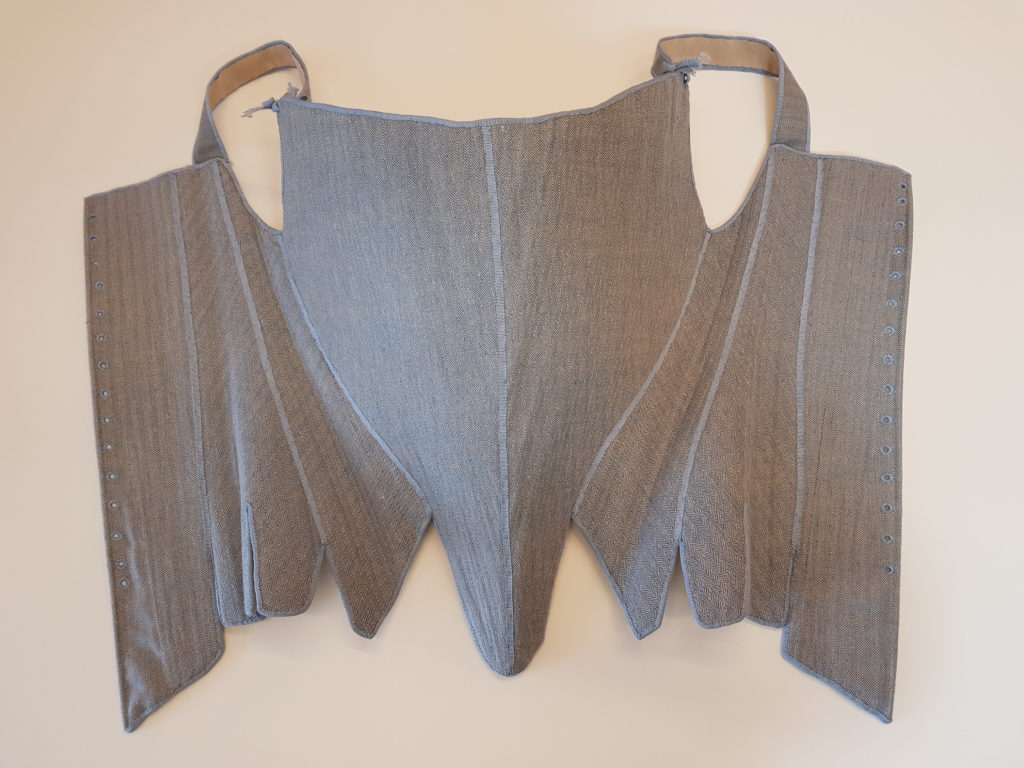
Overview:
Well many things went a leeetle bit wrong with these stays.
For example:
- We ran out of the boning we’d had specially cut and ended up using different sized bonings for the last panel. This has created a slight bunched up and uneven look to the left front panel.
- Our pattern cutting wasn’t as delicious as we hoped! The overall flow from the back, underarm and into the front panel didn’t glide like we wanted. Grrrr but we’re getting closer every time 🙂
- The front triangle which we were really excited about sampling didn’t work. Now we’ve completed the stays we can see the mistake we made right back at the beginning of the stays at the pattern cutting stage. Lesson learnt and oh boy for next time!
- We’d also gone a little awry on the measurements. Some weight had been put on and there was an inconsistency in the amount being taken off to allow for pulling the body in. But, this meant that the stays needed to have some extra bones put in at the waist only. We opted for putting them in on the side front panel. Which seemed to work until the stays were joined back together and it became obvious that adding that extra inch had changed the angle of the front side tab – and now curved like some saber tooth tiger! This was then promptly dealt with by unpicking the binding and reshaping the tab but it no longer ran towards the front main tab but away from it.
Synopsis? We’re very excited to try again :). These stays are such an important part of understanding this era of fashion – why the triangle front if it is not purposefully holding the shape out at the front of the dresses and we really need to experience this in the practical. And that means only one thing. We need to try again.
Watch this space….

