
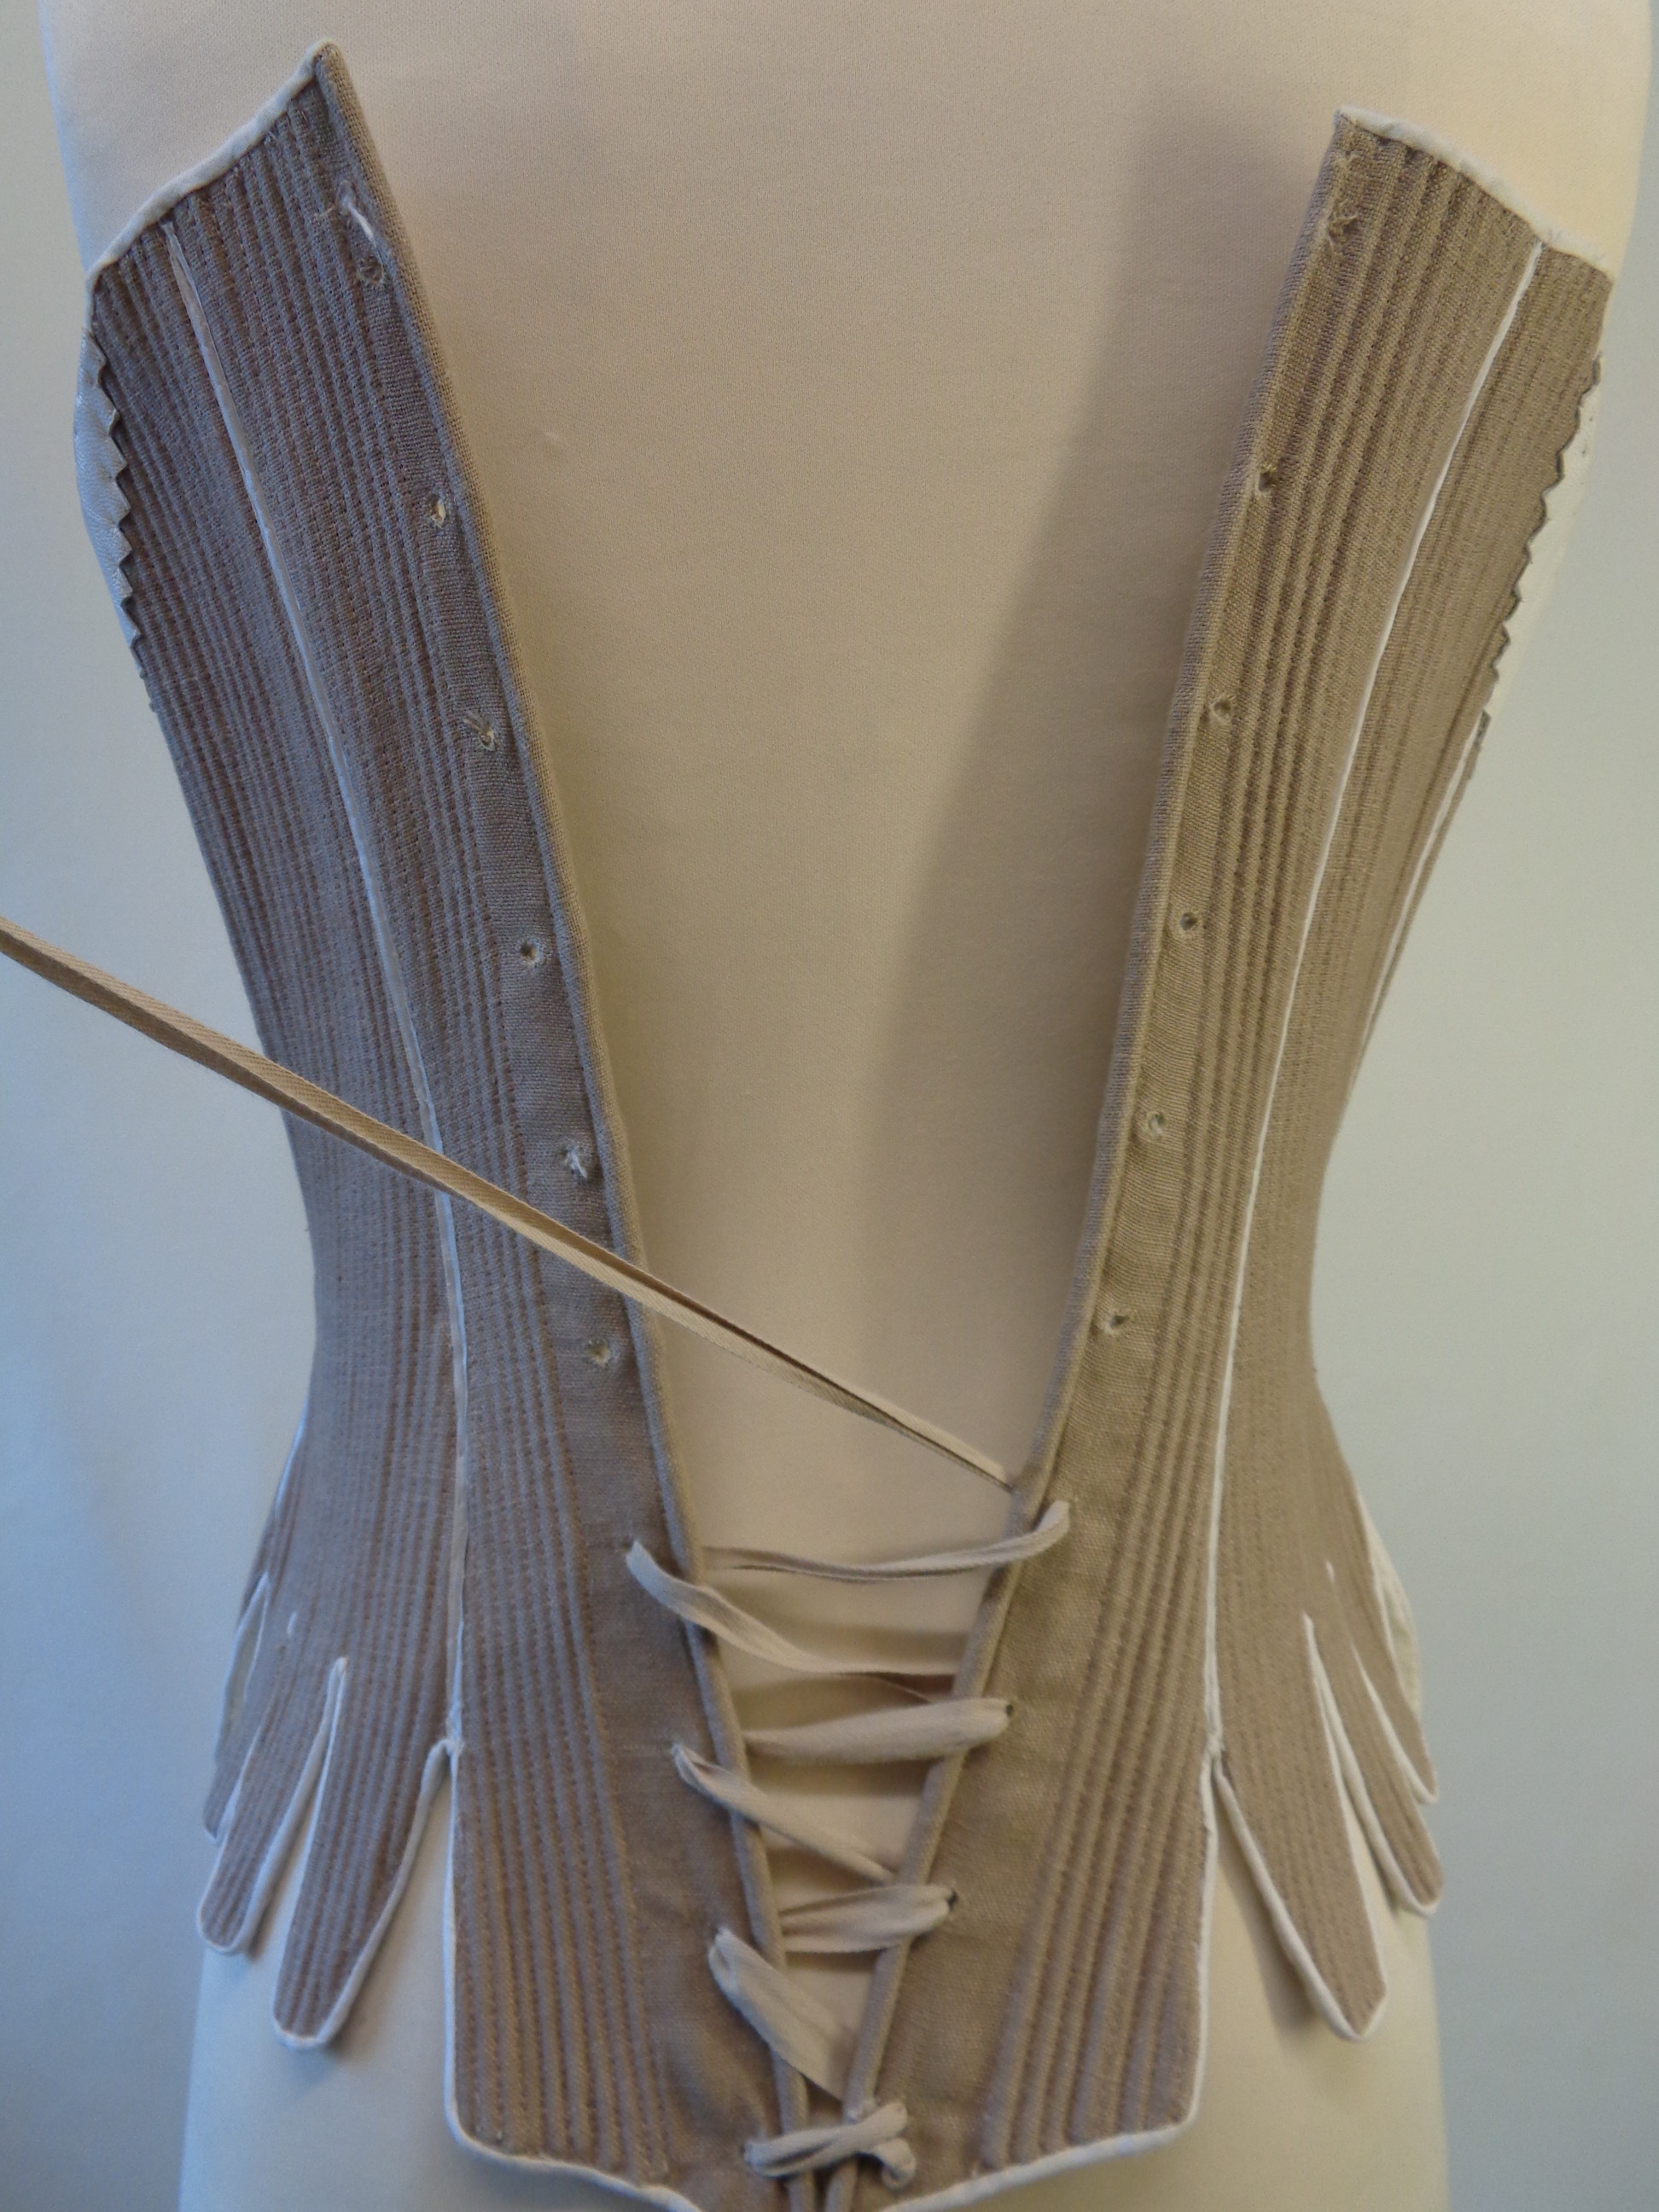
Under / Over Lacing
The Essential ‘How to…’
We’ve named this lacing method ourselves as we can’t really find any record of it in the history books or mention of it in any letters. It’s not even really a definite lacing method – it’s just that some of the stays have shadows from the old thread that could be interpreted as slightly different form of Straight Lacing – and this could be one of the variations. The downside of this method is, like the Crossed Method, it’s hard to pull the lacing in tight if the CB edges are meeting. You’ll see this in the photo’s.
The Steps:
- You will need a length of ribbon, the same as the lace needed for the Straight Lacing – one with a knot at the end and a metal tipped end at the other, or using an awl to push it through.
- You start this lacing in the same way as you start the Straight Lacing method, pushing DOWN through the Lower Staggered Eyelet so that the knot rests in the hole but doesn’t go through.
- You then go across to the opposite hole and come up from the Underside through to the Topside.
- Next, you cut across to the Upper Staggered Eyelet opposite and go DOWN through the eyelet, down through to the Underside.
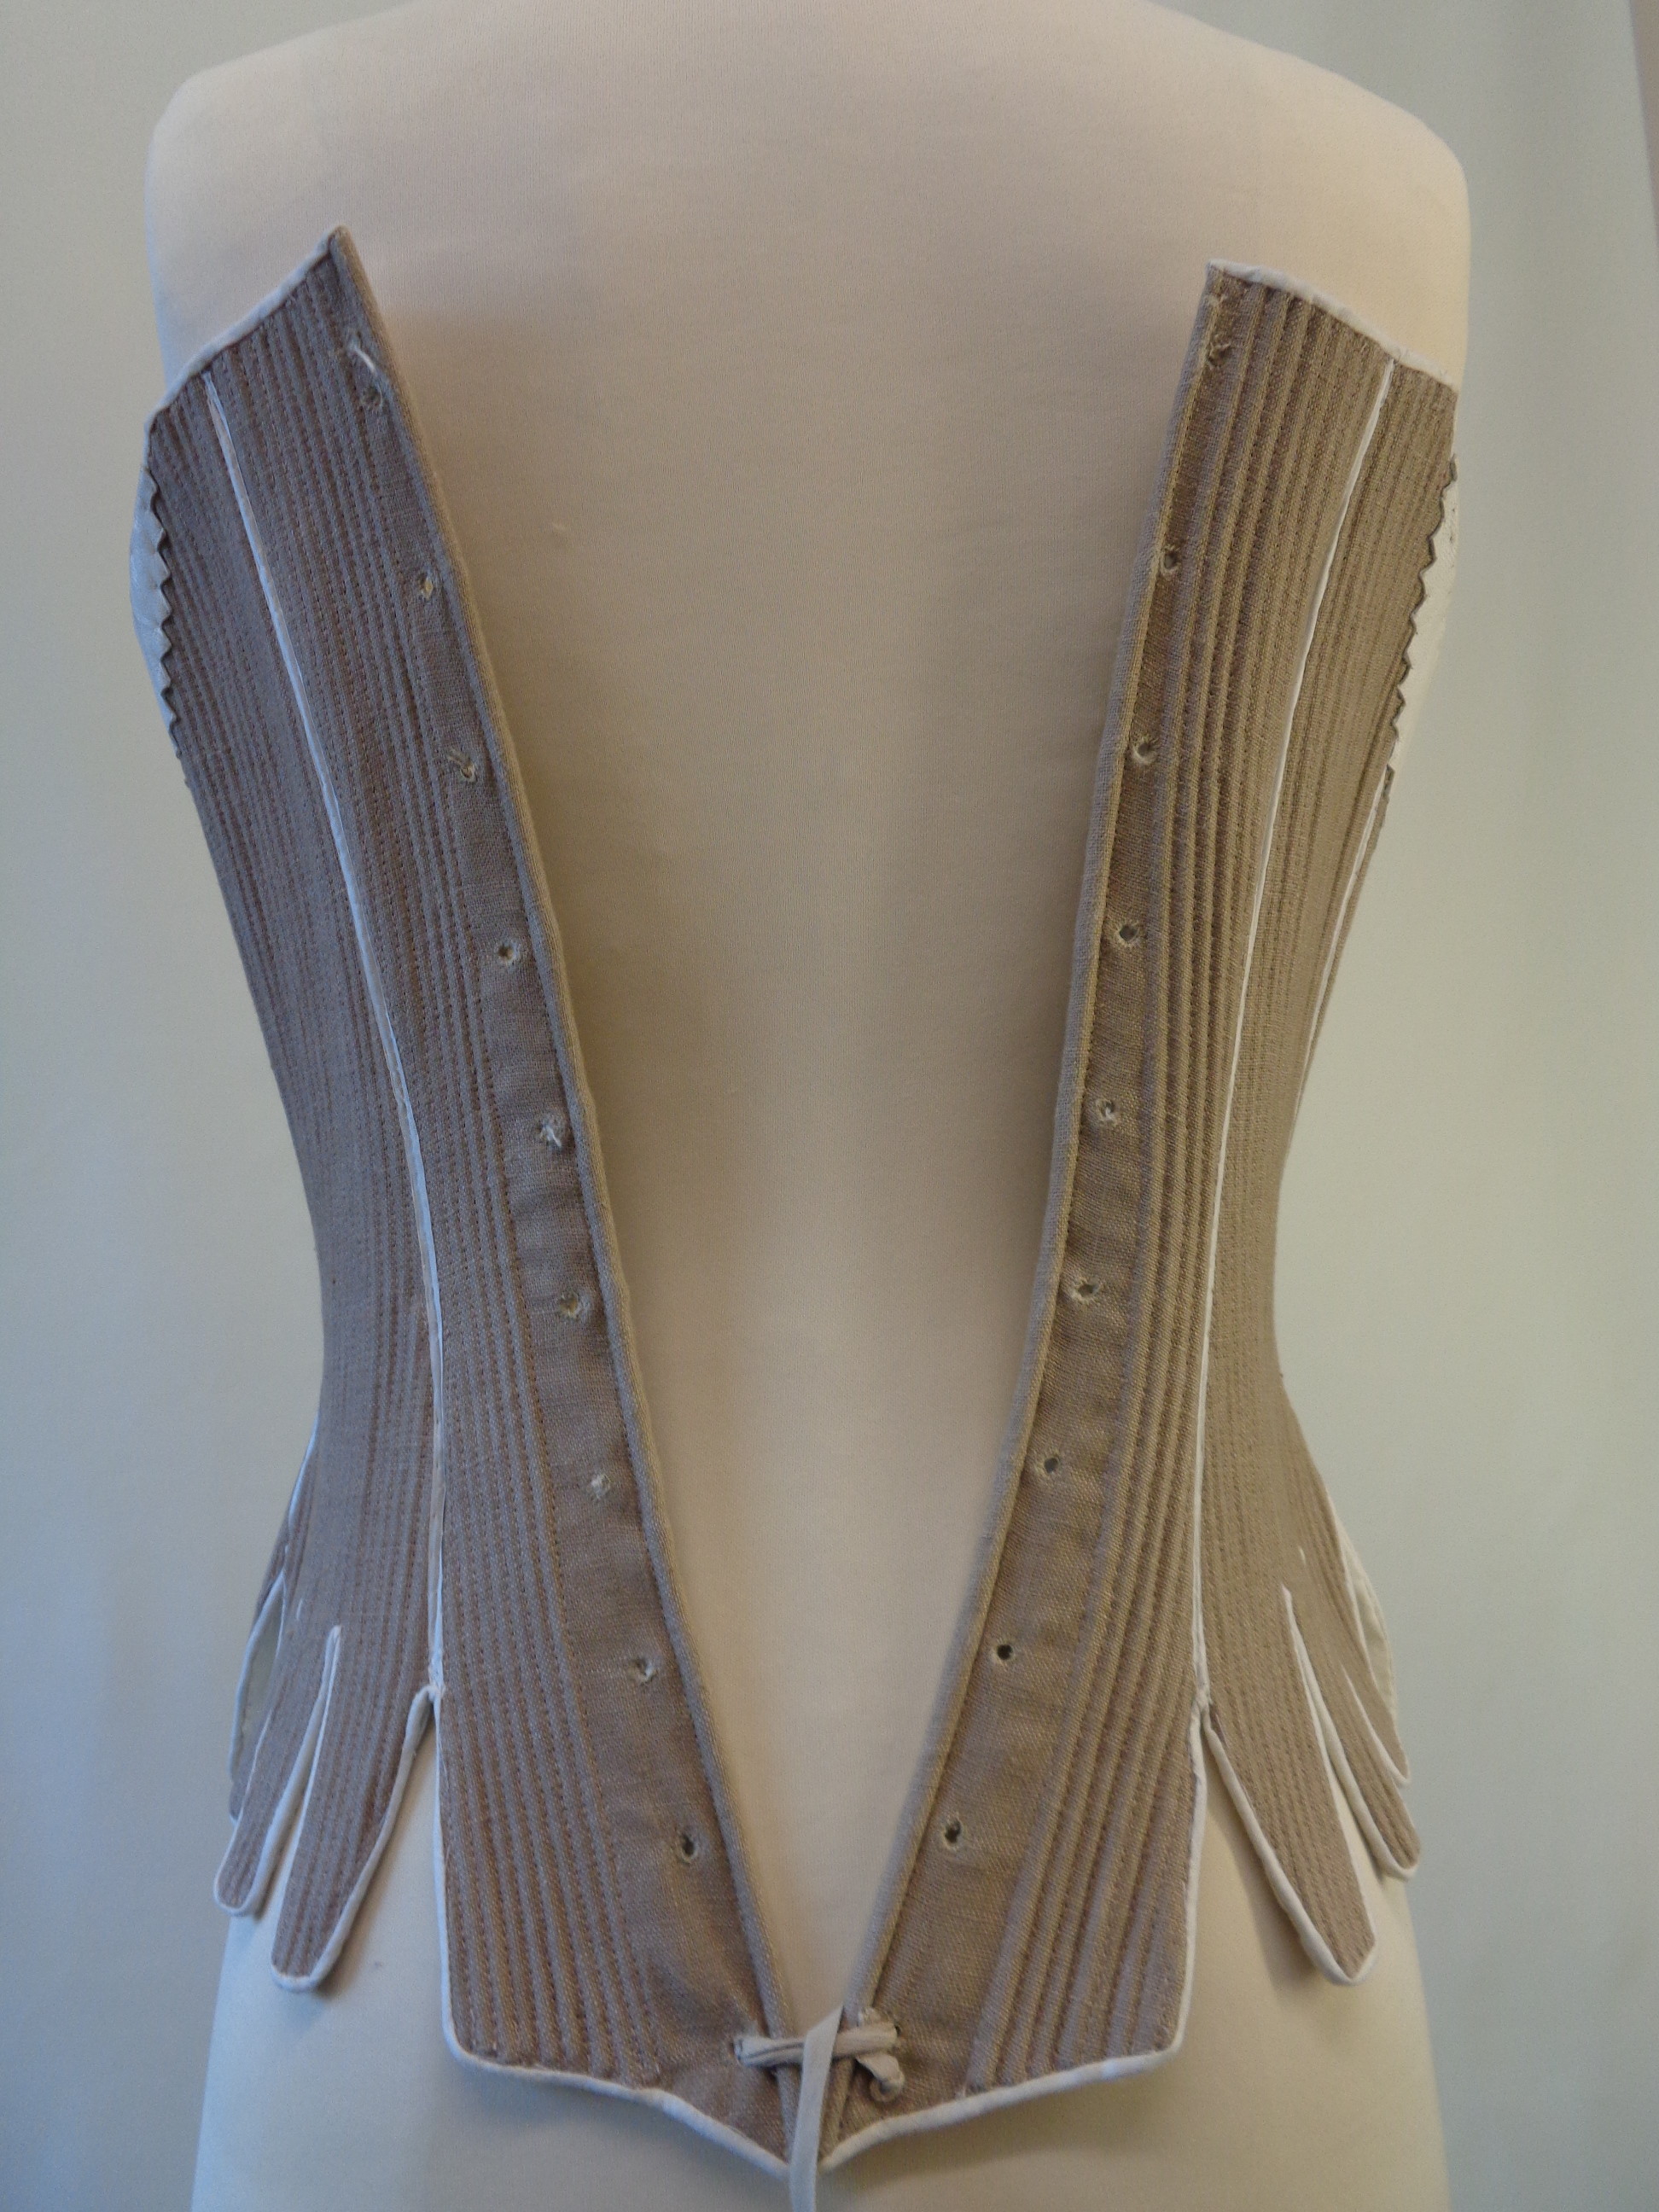
- That creates like a kind of locking to the lacing and gives the right level beginning to start lacing up the back. This is called the Under Over lacing method because you are weaving under, over, under, over through each consecutive eyelet.
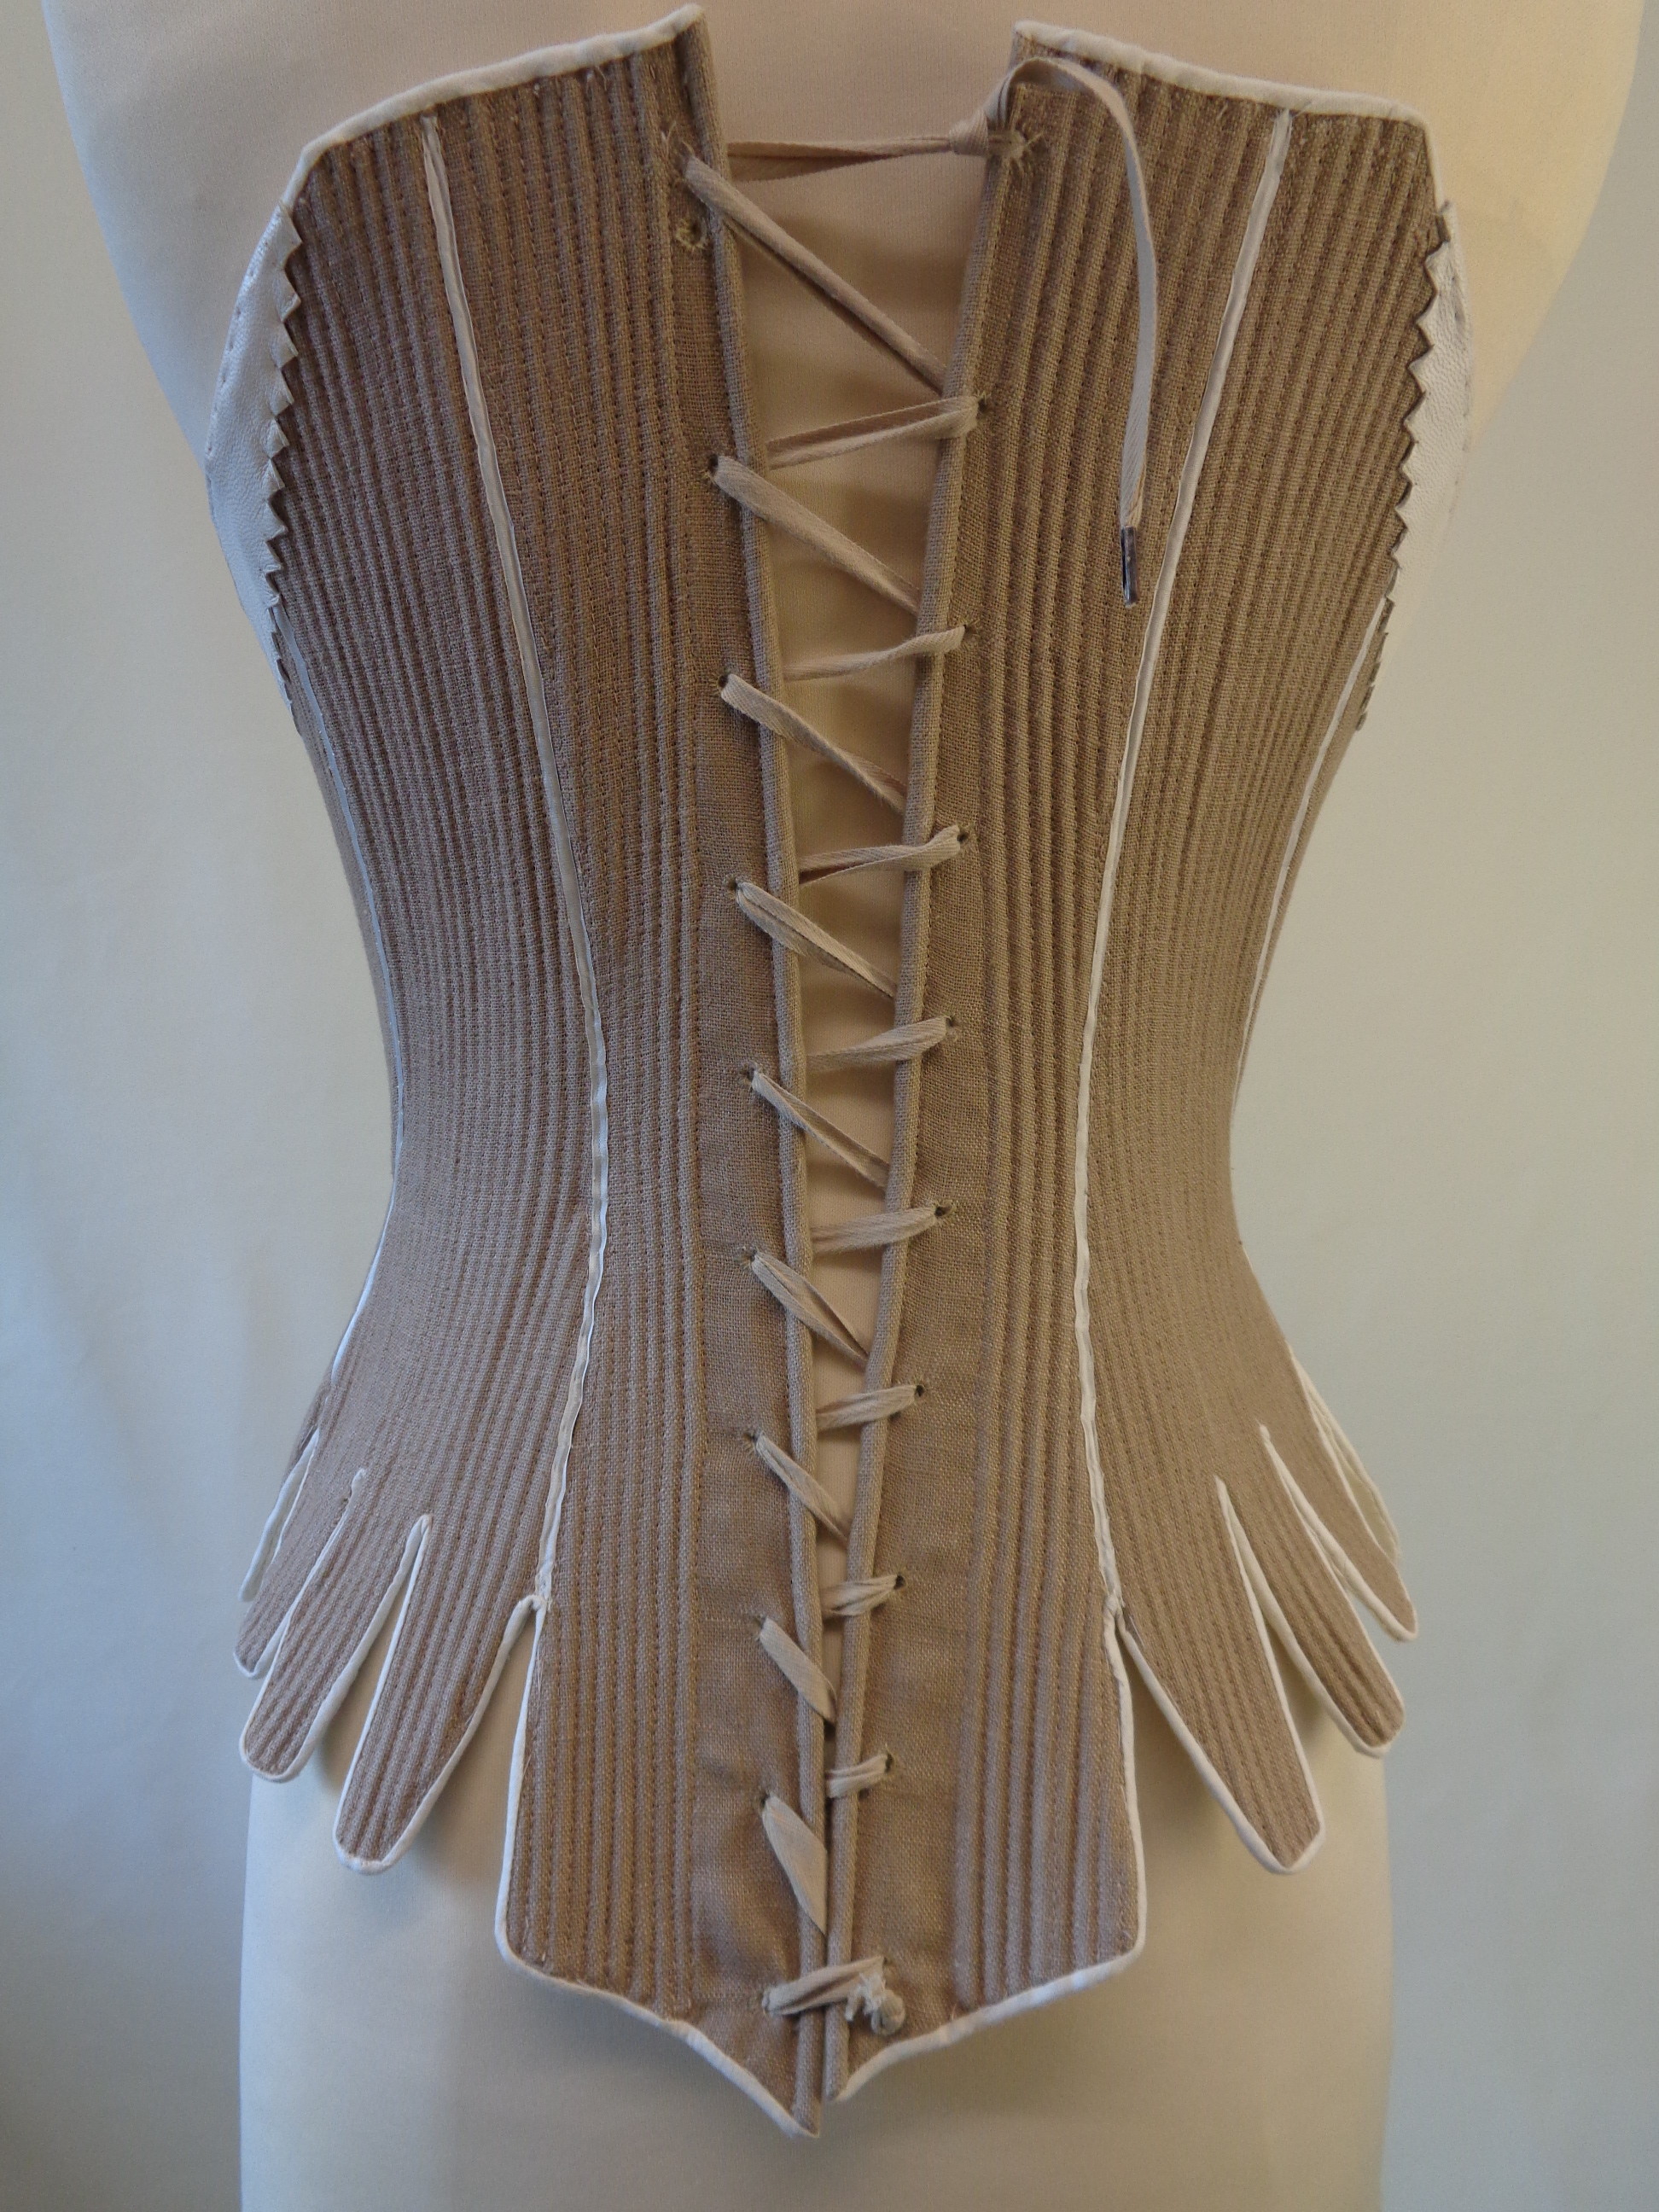
- As your Lace is in Under position, the next motion for the next eyelet opposite is to go Over. So you push your Tipped End DOWN through the hole.
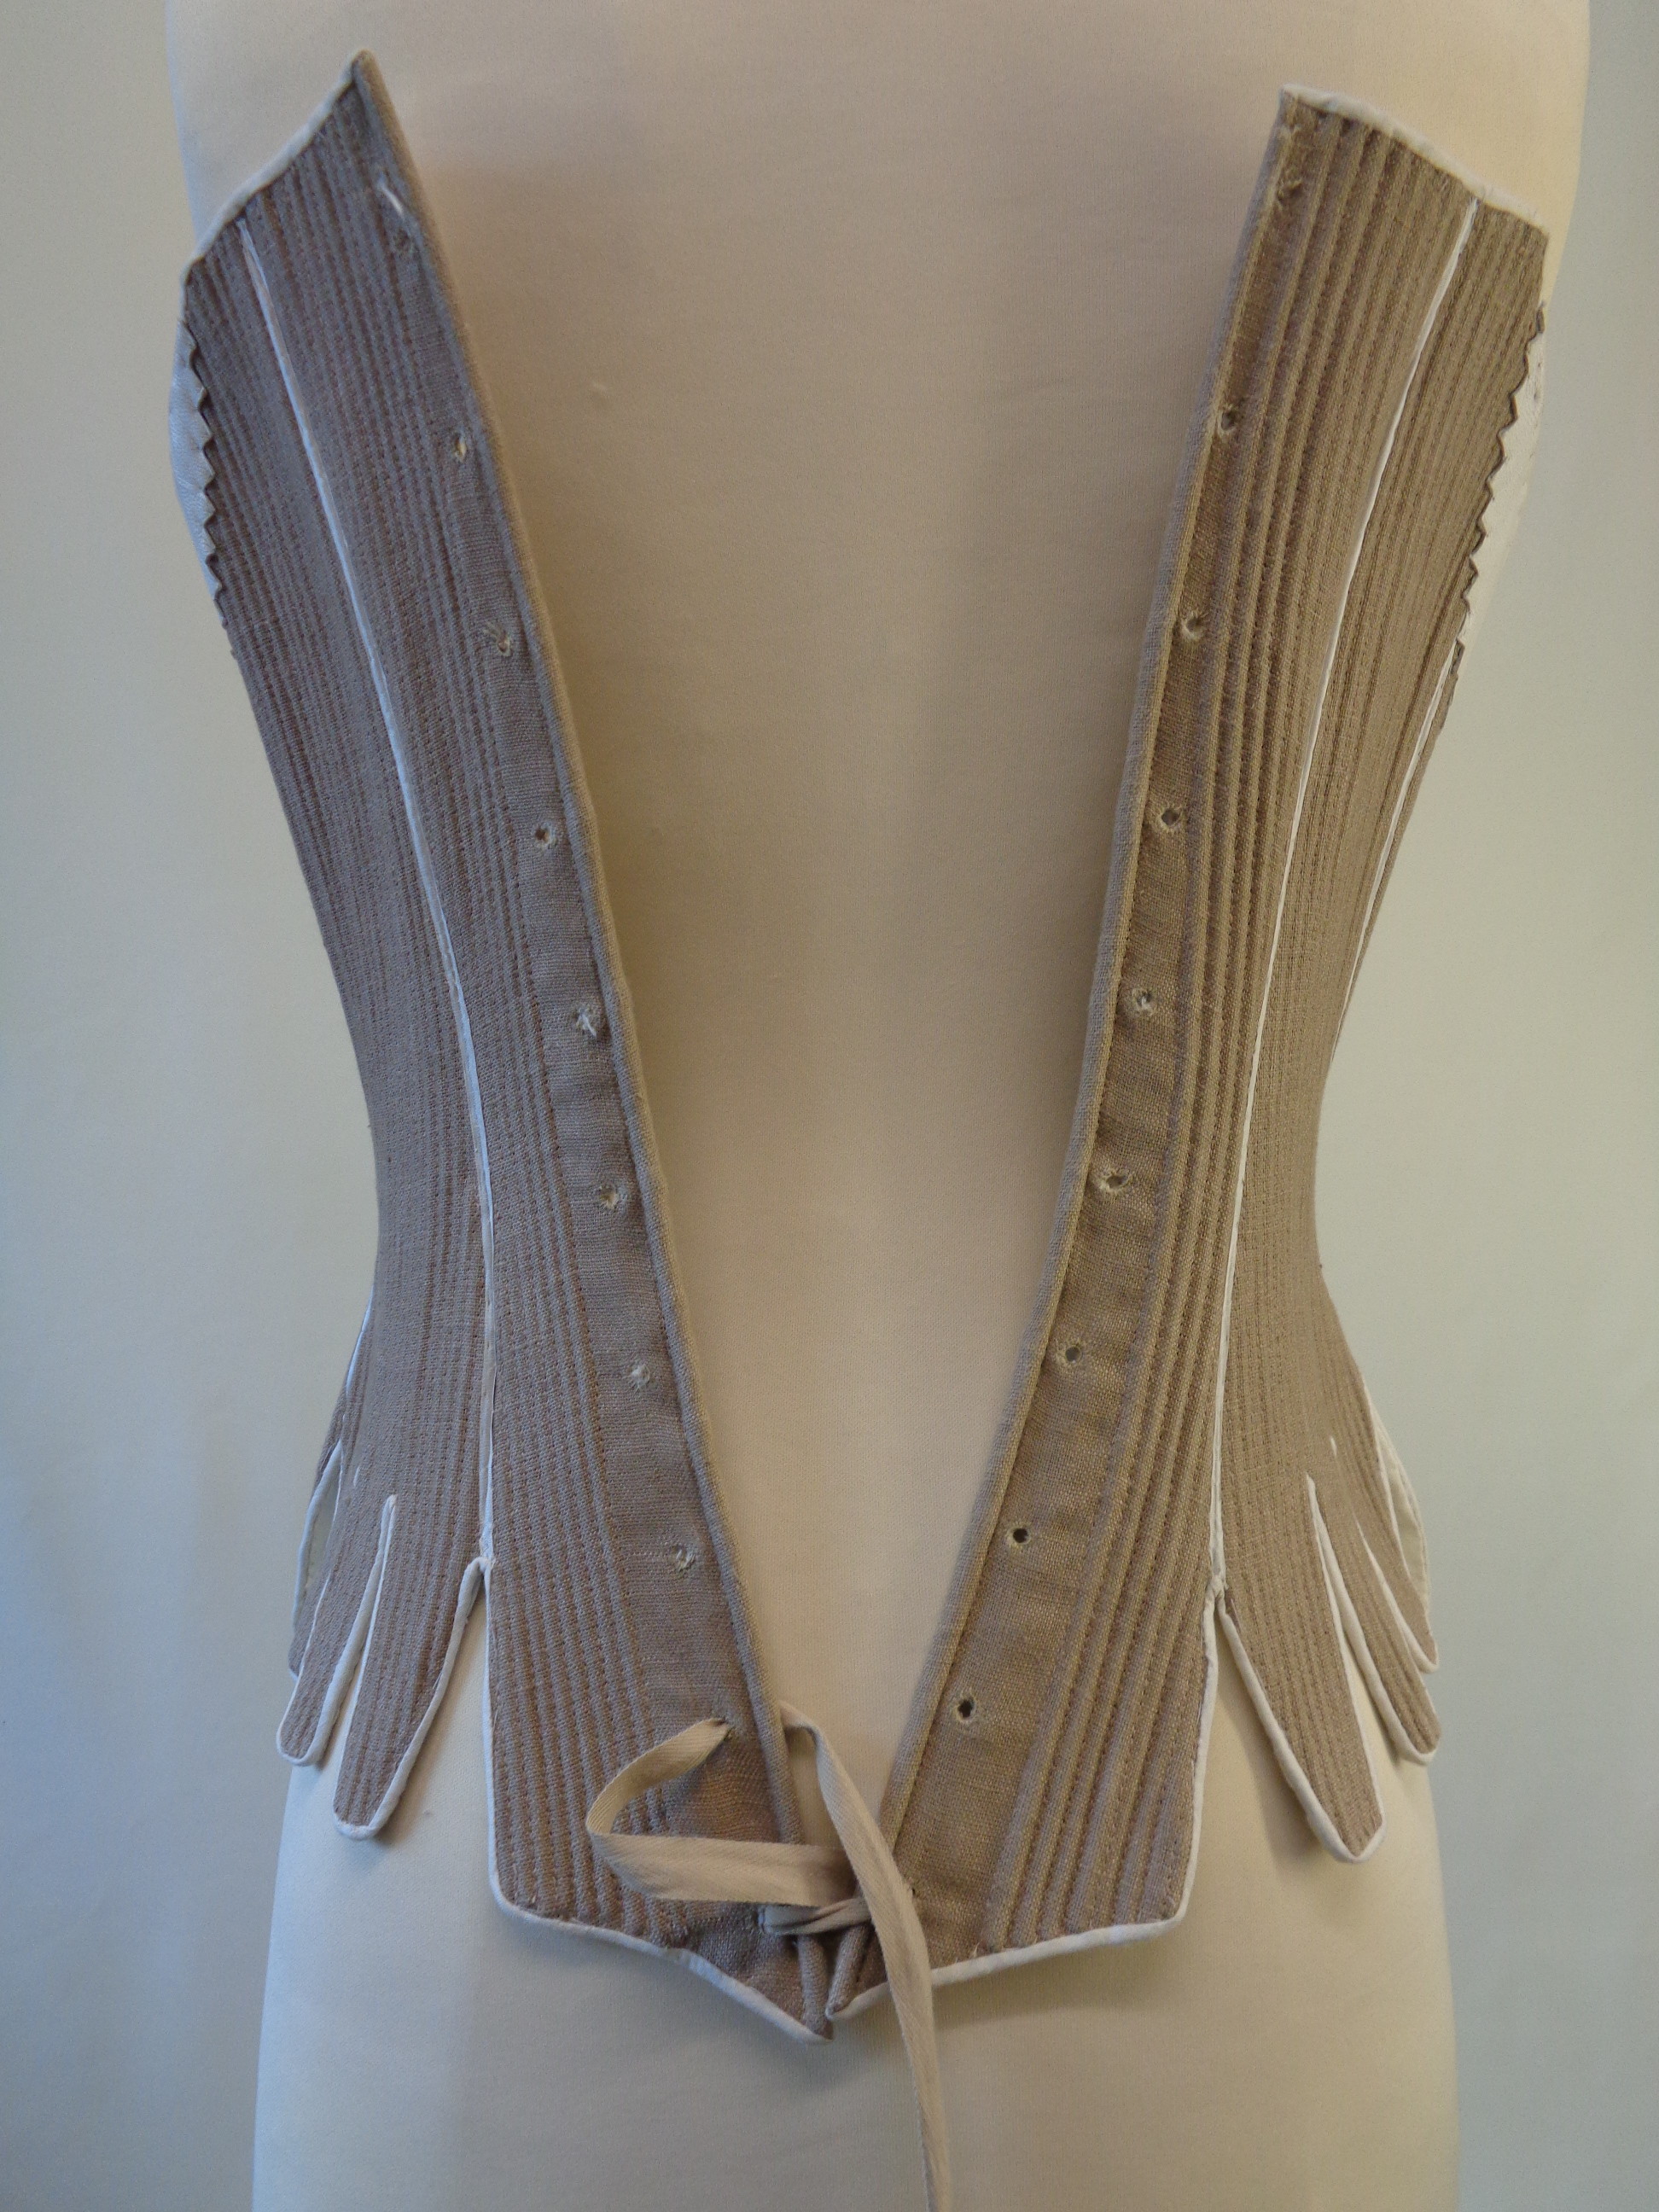
- Next, yep you’ve guessed it, you’re coming from an UNDER position (ie from the Underside) so you’re going to go back OVER the eyelet and push on DOWN through the eyelet.
- Now you’re back in the UNDER position and the next step is to go through the opposite eyelet, going OVER it and DOWN through to the underside again. You’re beginning to see the rhythm here, under, over, under, over.
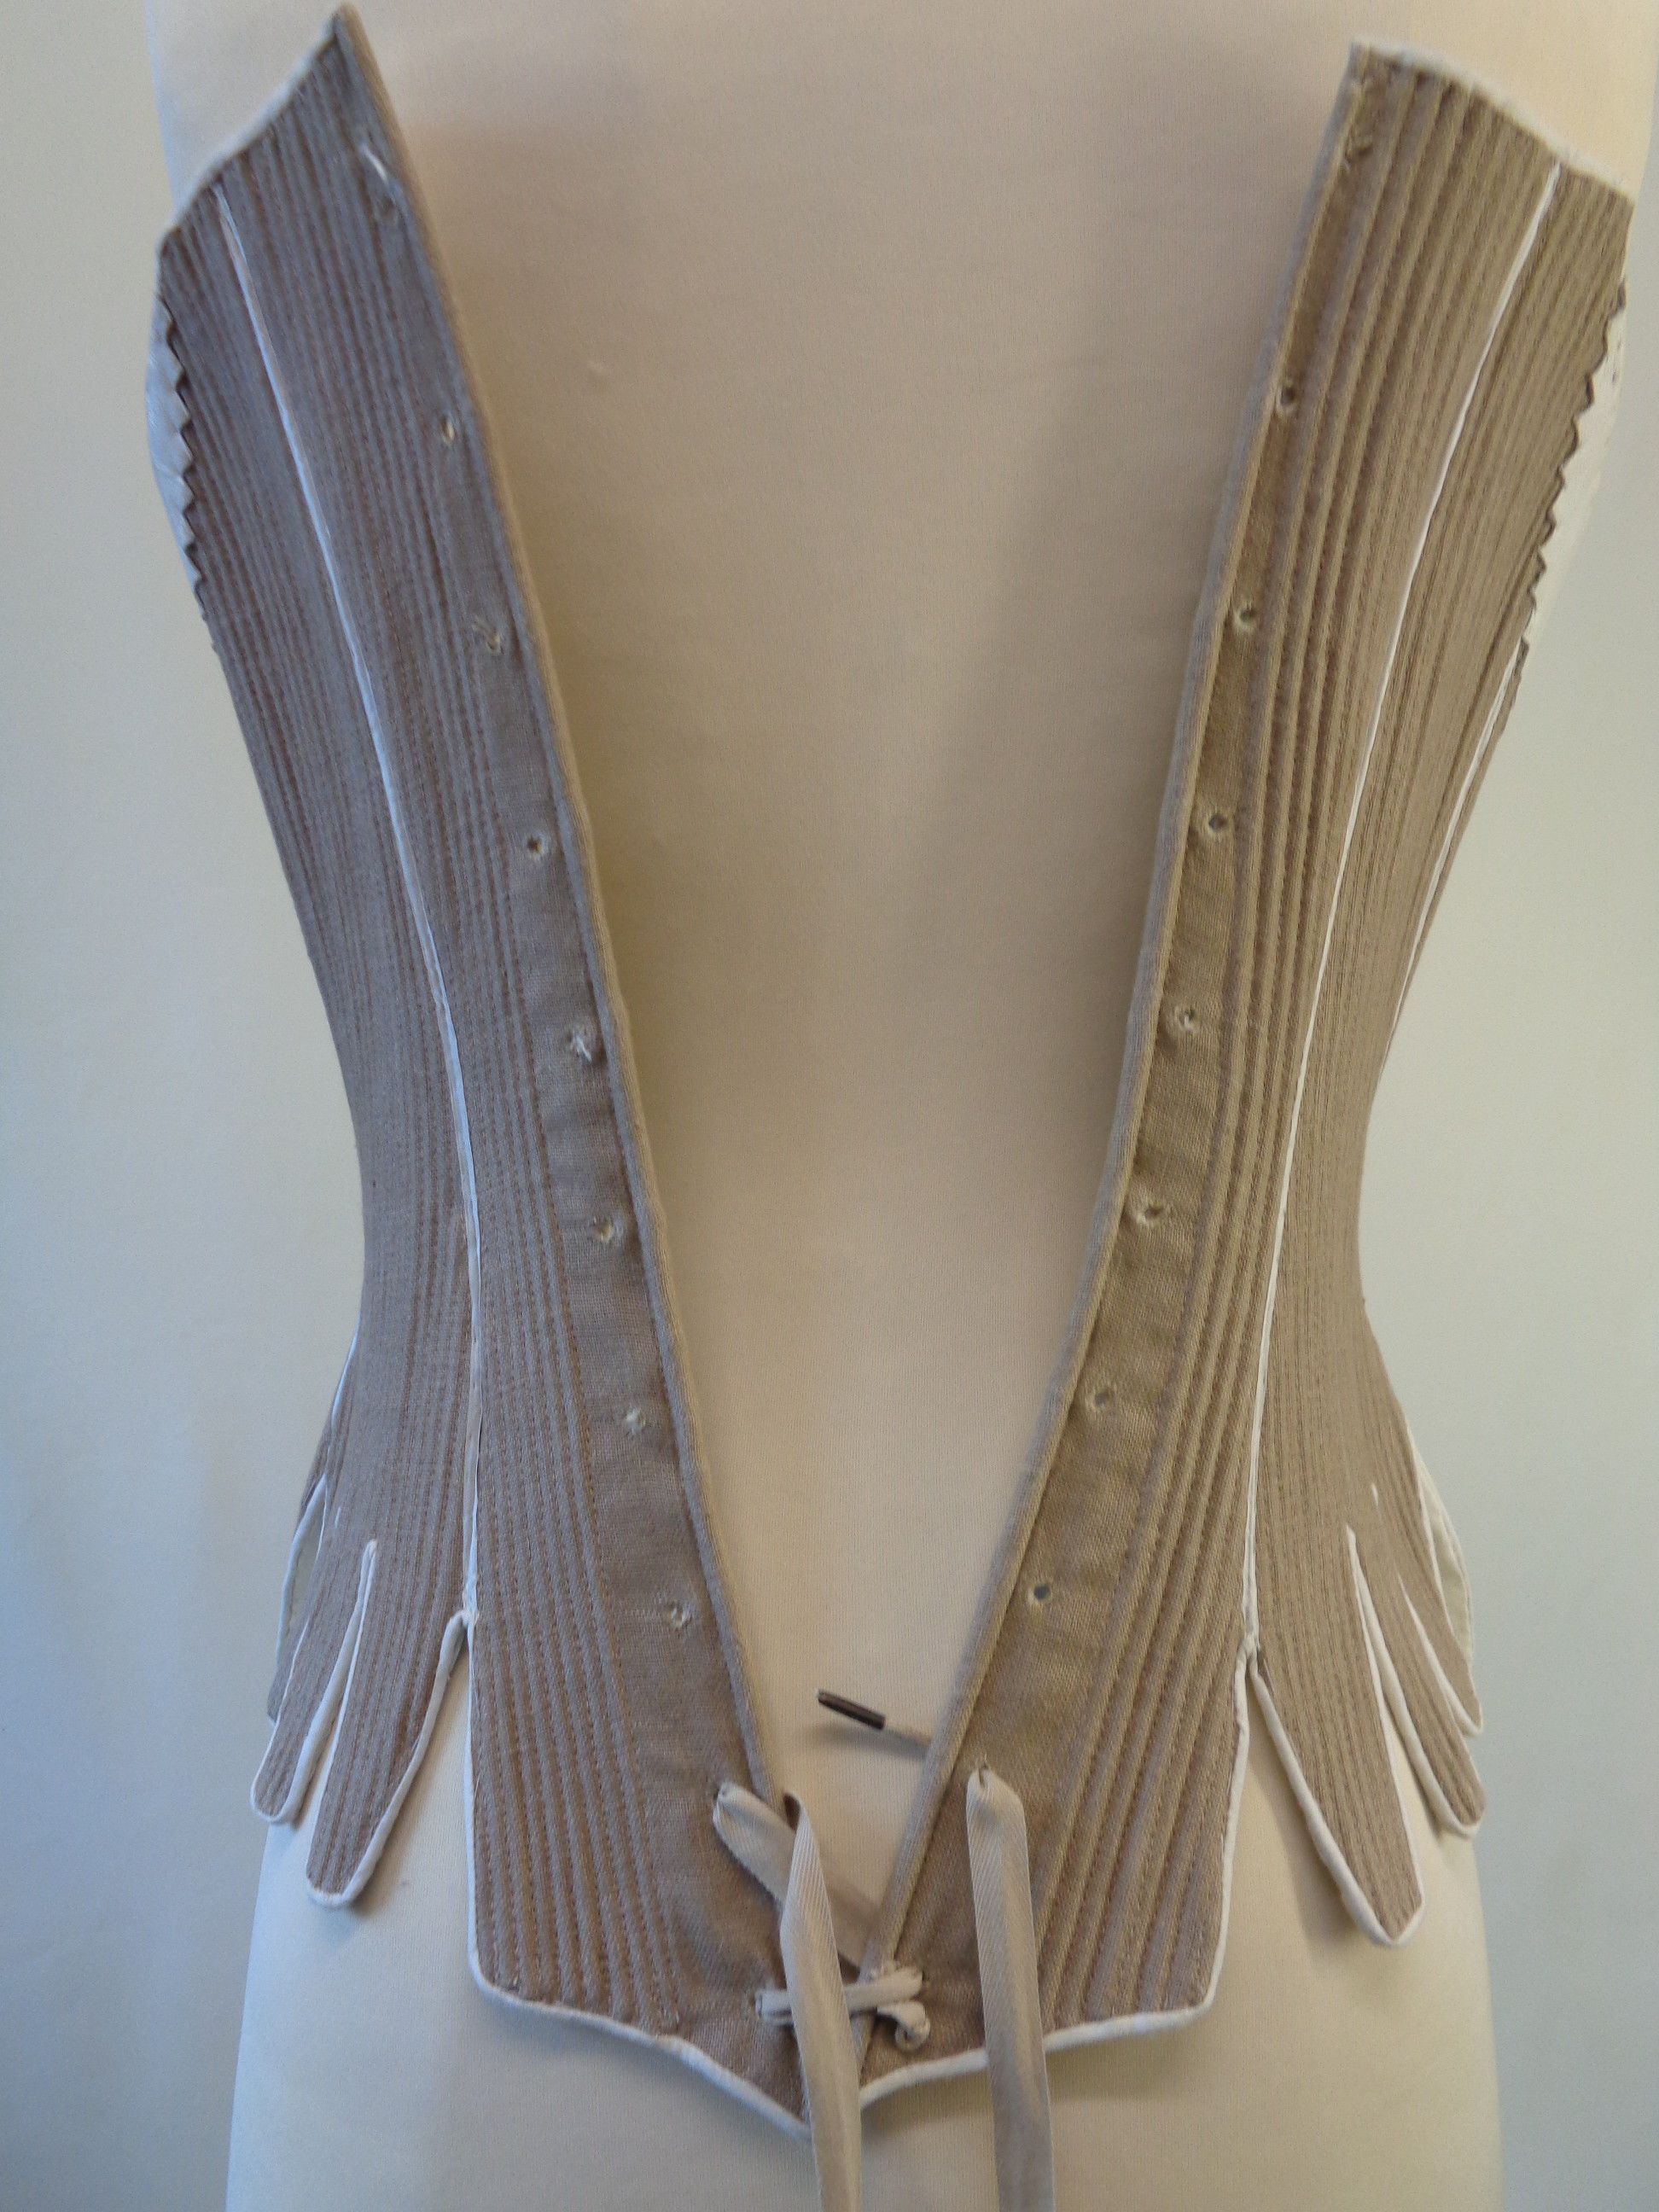
- The above image is the lacing a few steps on but you can begin to see how it is taking shape.
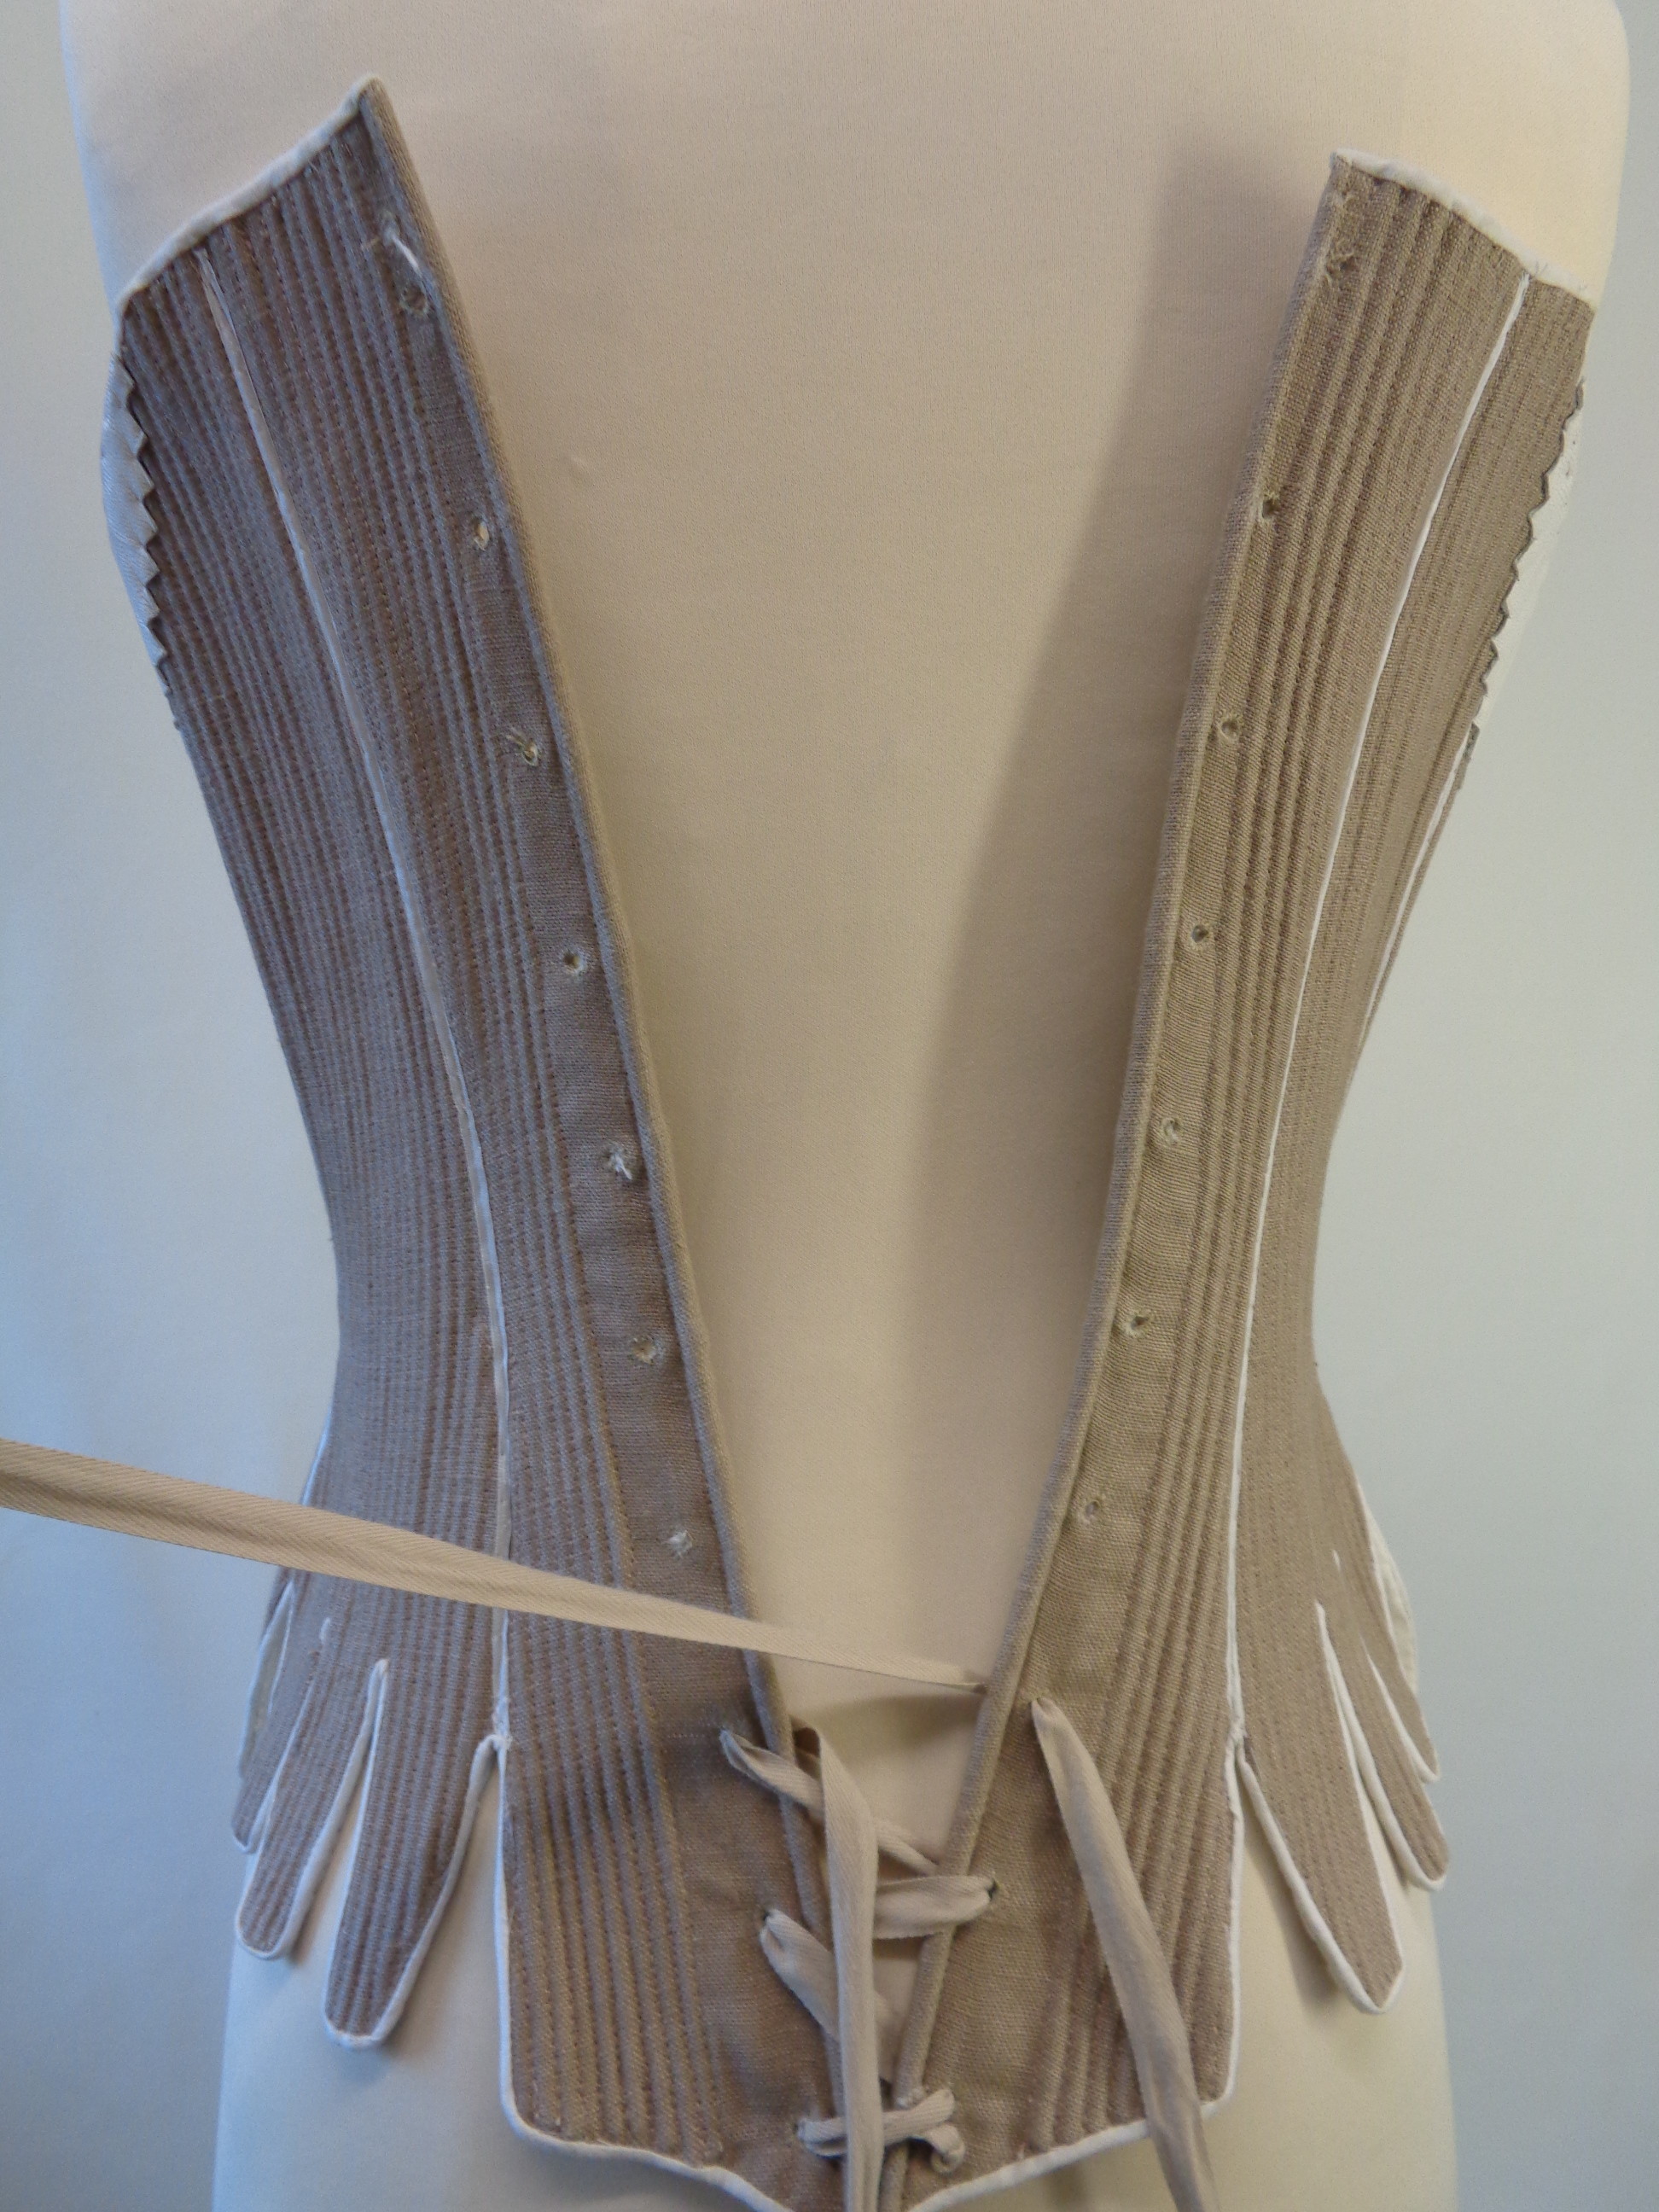
- Keep following this pattern up the back until you get to the top. For the way this lacing works, you won’t need the Staggered Top section of eyelets if your Stays have them – just use the last Upper eyelet as the correct hole to use.
- In this image here above, you can see how the Lower Staggered Eyelet has been ignored and the rest of the lacing goes on up as usual.


